Bootlace Ferrules Explained: When to Use Them—and When Not To
By Gordon RoutledgePublished: 10 May 2020 · Last updated: 12 September 2026
SHARE IT
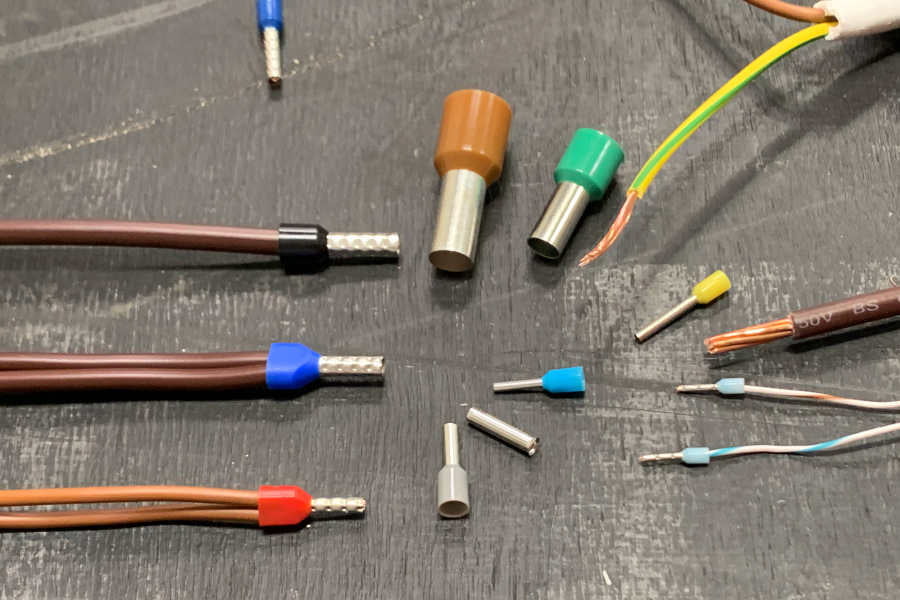
Why use ferrules?
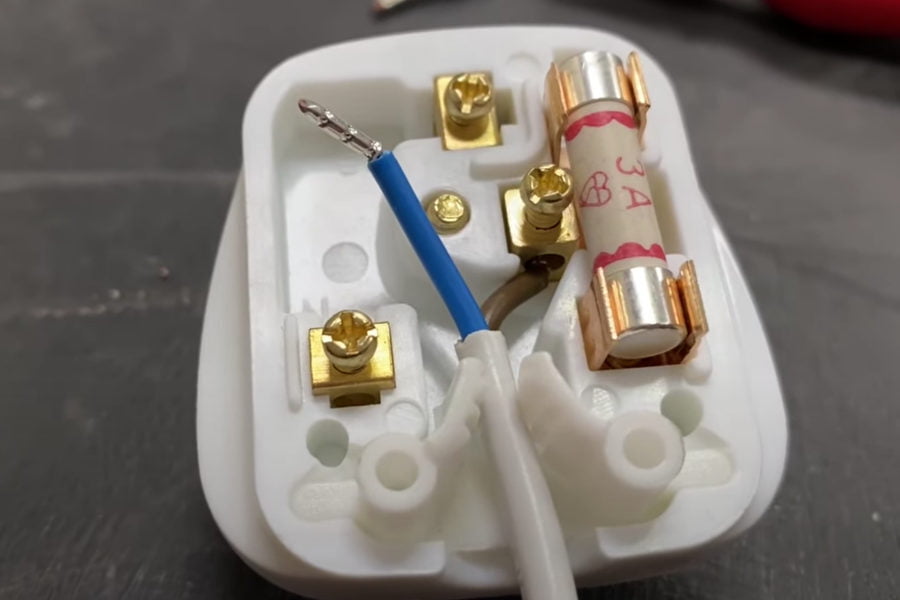
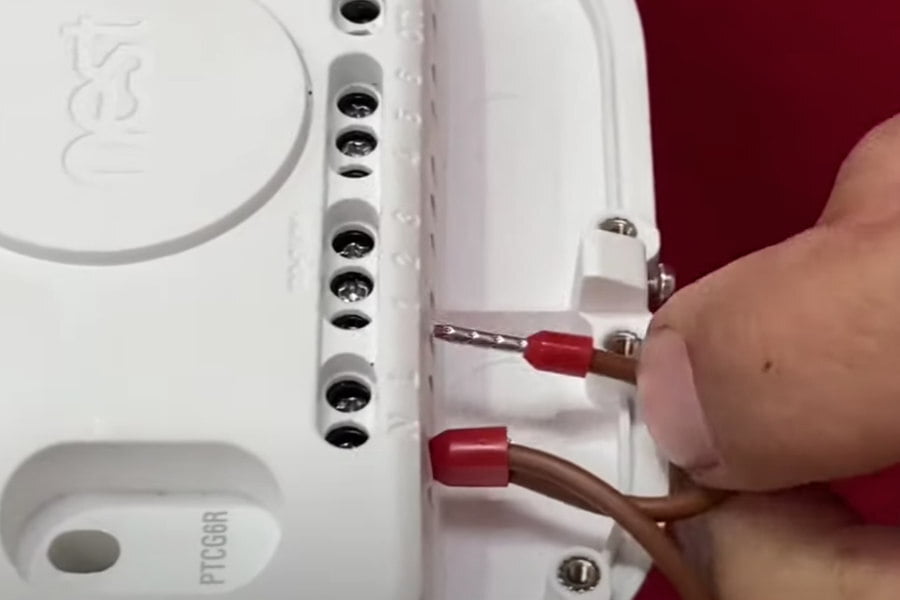
A bootlace ferrule is a small sleeve fitted over the stripped end of a conductor and compressed with a suitable crimping tool. It keeps the fine strands together so they can enter a terminal as one prepared end. You’ll also see them described as wire-end ferrules, cord-end ferrules or cable end sleeves.
The important word is suitable. The conductor, ferrule, tool and terminal need to work together. A tidy-looking termination is only part of the job.
The Ultimate Guide To Ferrules
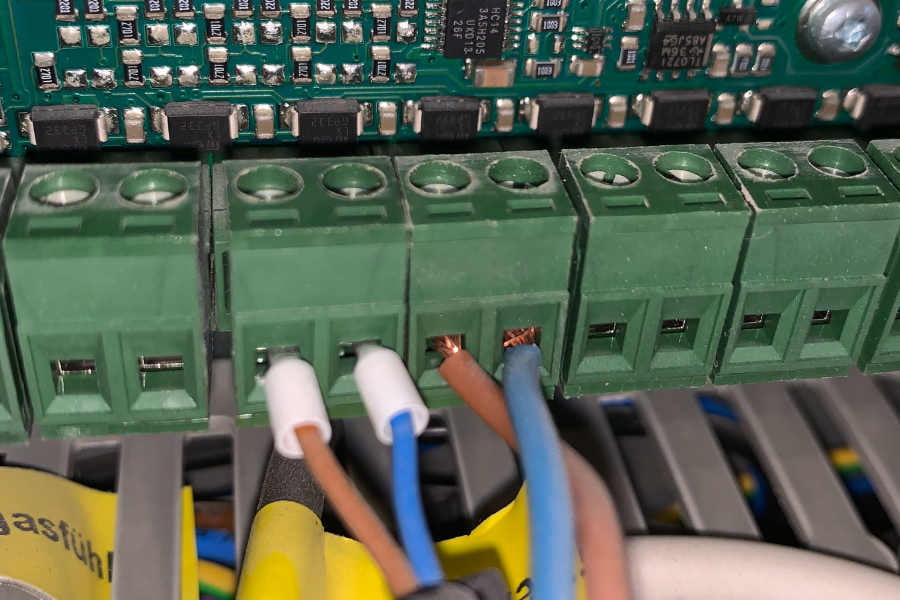


Ferrule colour codes
VIDEO - Ferrule colour codes
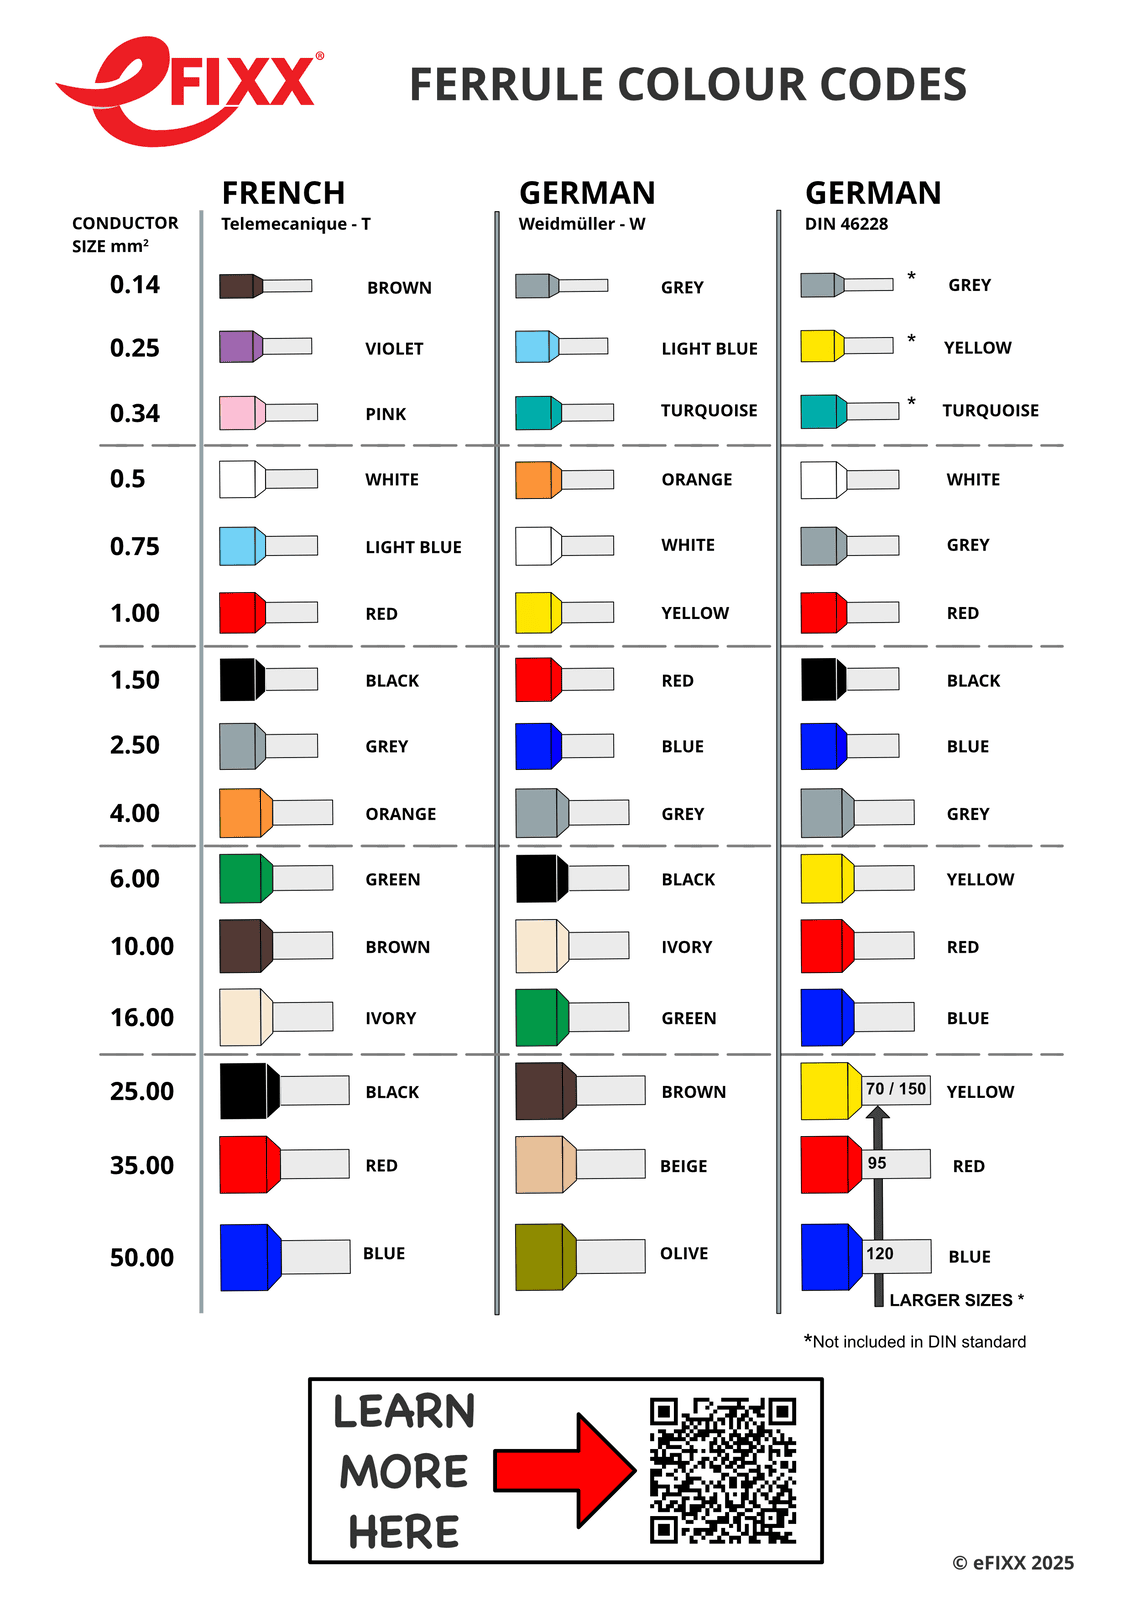
Ferrule colour-code table: 0.14–150 mm²
This table follows the eFIXX printable chart. Check the size on the packaging and identify its colour system before selecting a ferrule.
| Size (mm²) | French — Telemecanique (T) | German — Weidmüller (W) | DIN colour column† |
|---|---|---|---|
| 0.14 | Brown | Grey | Grey* |
| 0.25 | Violet | Light blue | Yellow* |
| 0.34 | Pink | Turquoise | Turquoise* |
| 0.5 | White | Orange | White |
| 0.75 | Light blue | White | Grey |
| 1.0 | Red | Yellow | Red |
| 1.5 | Black | Red | Black |
| 2.5 | Grey | Blue | Blue |
| 4.0 | Orange | Grey | Grey |
| 6.0 | Green | Black | Yellow |
| 10 | Brown | Ivory | Red |
| 16 | Ivory | Green | Blue |
| 25 | Black | Brown | Yellow |
| 35 | Red | Beige | Red |
| 50 | Blue | Olive | Blue |
| 70 | — | — | Yellow* |
| 95 | — | — | Red* |
| 120 | — | — | Blue* |
| 150 | — | — | Yellow* |
†This column reproduces the chart’s DIN 46228 column, including its marked exceptions. *The eFIXX chart marks these sizes as not included in the DIN standard. Their colours are reference information, not DIN-standard assignments. A dash means the chart does not specify a colour for that system and size.
Source: eFIXX Ferrule Colour Codes, 2025.
Notice how the colours repeat as sizes increase. A red collar alone cannot tell you which ferrule you have. These are colour-system comparisons, not permission to substitute one product for another.
Ferrule types
VIDEO - Ferrule types,tips and where to use them
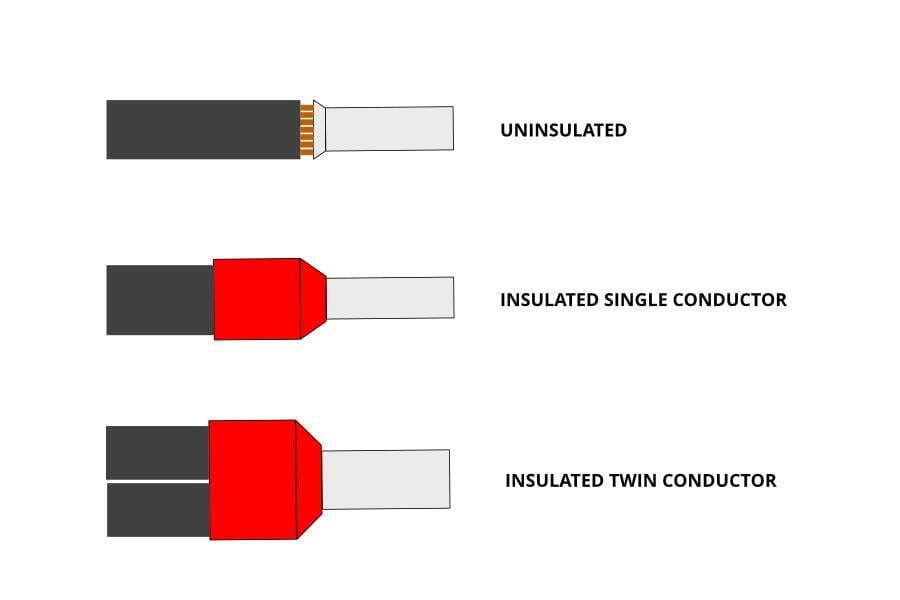
Uninsulated ferrules
Twin wire ferrules
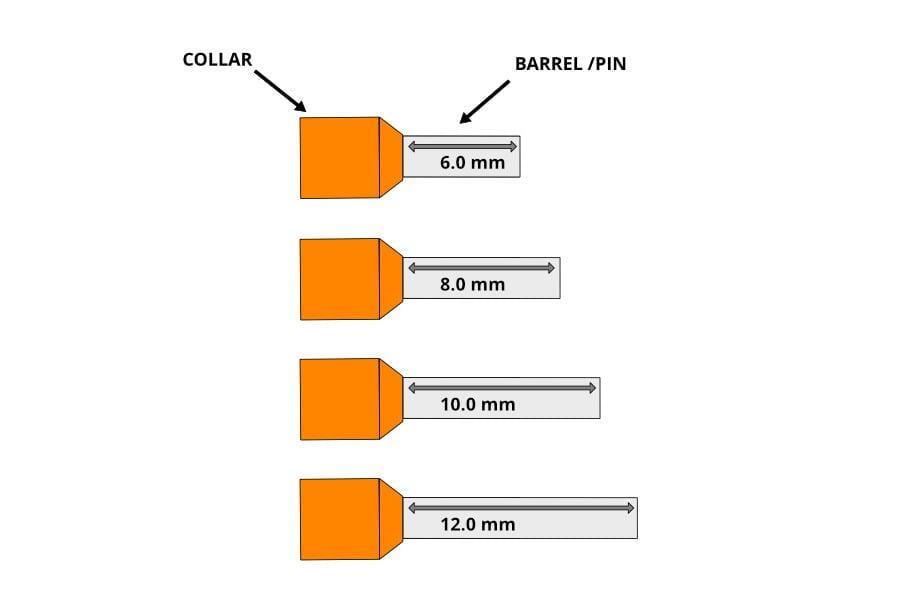
Choosing the barrel length
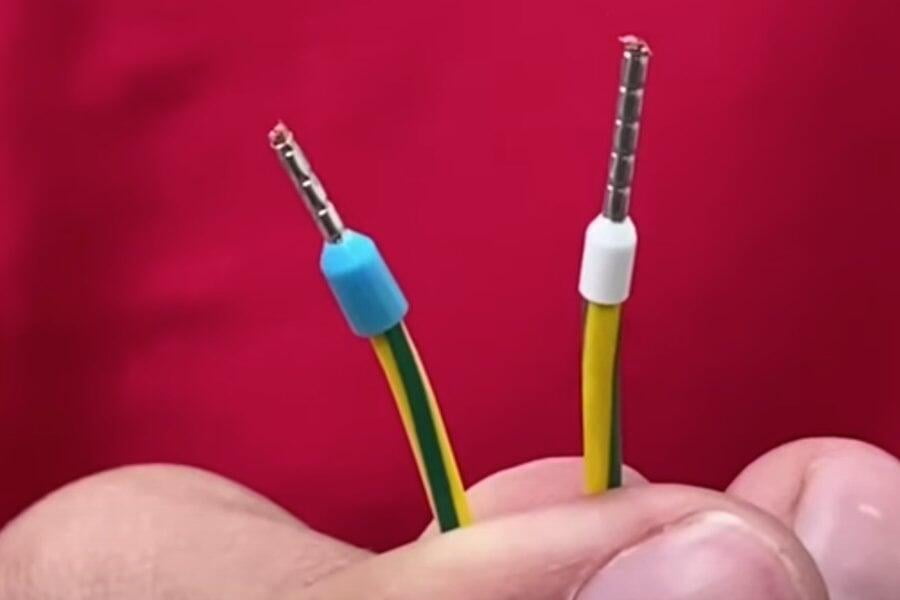
Barrel length matters too. The prepared end needs to suit the depth and geometry of the terminal. Follow the specified strip length and preparation instructions; an unnecessarily long sleeve is not a shortcut to a better connection.
Choosing a ferrule crimping tool
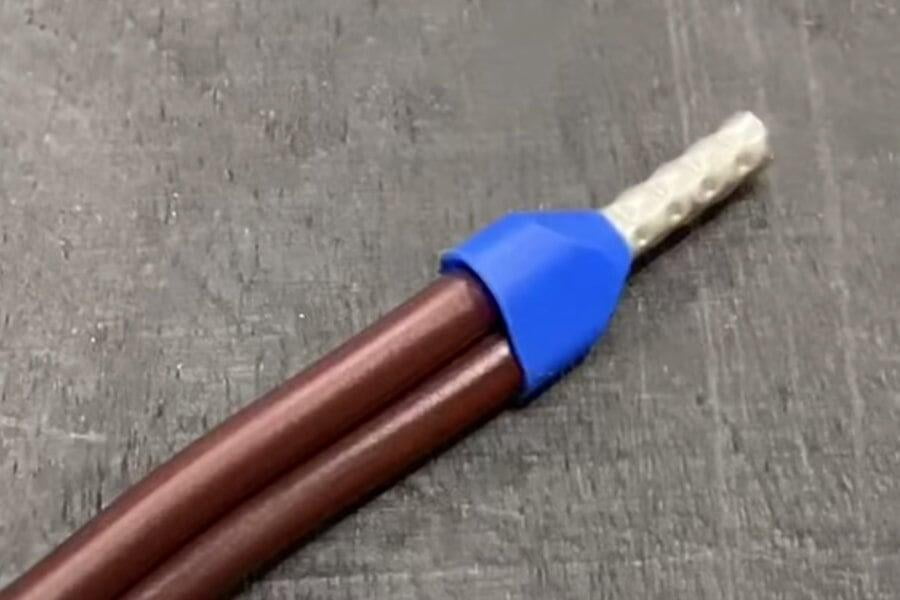
A ferrule crimping tool forms the sleeve around the strands. Choose one specified for the ferrule type and size, including twin ferrules where relevant. Check the recommended tool and ferrule combination, particularly where an approved system is required.
Square, hexagonal and other profiles are available. The resulting shape must fit the intended terminal; the largest tool or most impressive-looking crimp is not automatically the best choice.
The newer video compares manual and powered options and explains why a tool that suits your everyday conductor sizes can make repeated work easier. It also looks at ferrule quality: products that look similar on the outside may not be equivalent underneath.
A practical preparation check
- Confirm what the terminal accepts: conductor type, size and preparation.
- Select the specified ferrule type, capacity and barrel length.
- Strip to the required length without damaging or losing strands.
- Insert the conductor fully and crimp using the specified tool and setting.
- Inspect the prepared end for escaped strands, damaged insulation or an incomplete crimp.
- Connect it in accordance with the equipment instructions, including any specified tightening torque.
The detailed dimensions and acceptance checks belong to the product instructions. A neat finish helps you inspect your work, but appearance alone does not prove a sound connection.
Ferrule pin lengths
Knipex ferrule starter kits (advertisement)
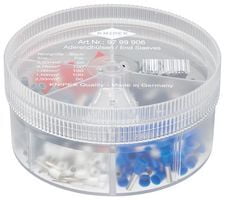
Ferrule starter kit
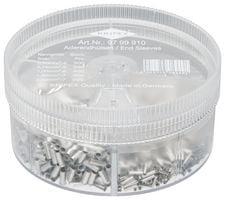
Uninsulated Ferrule starter kit
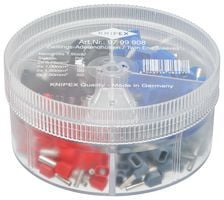
Twin ferrule starter kit
Wiha ratchet crimp tool (advertisement)
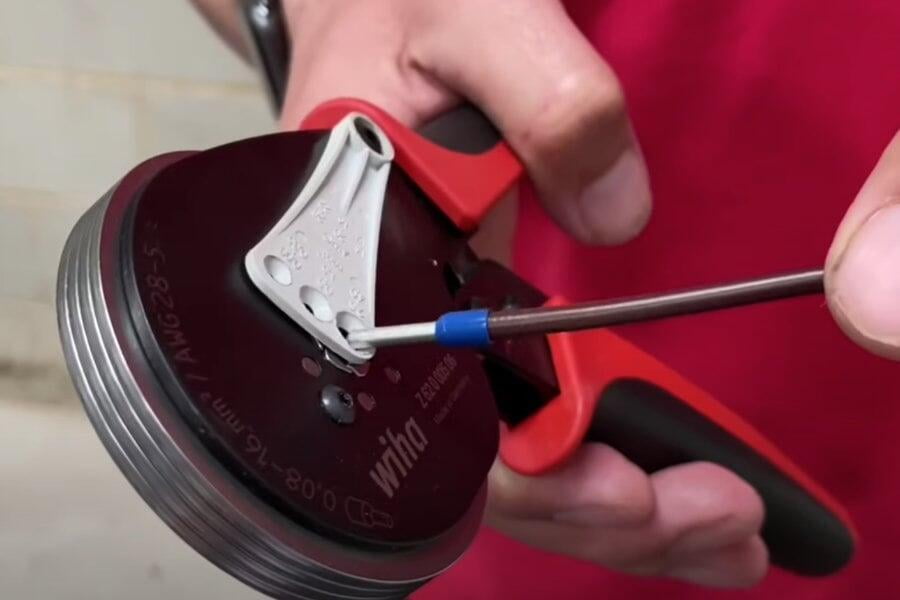
Wiha ferrule crimp tool used in our videos. Chosen for its wide range of conductor sizes 0.08 - 16mm2 and hexagonal crimp die.
Wiha Z62000506SB
SHARE IT
Got a question about this ferrules?
Know how - IP ratings

New cable simplifies smart EV charger installation
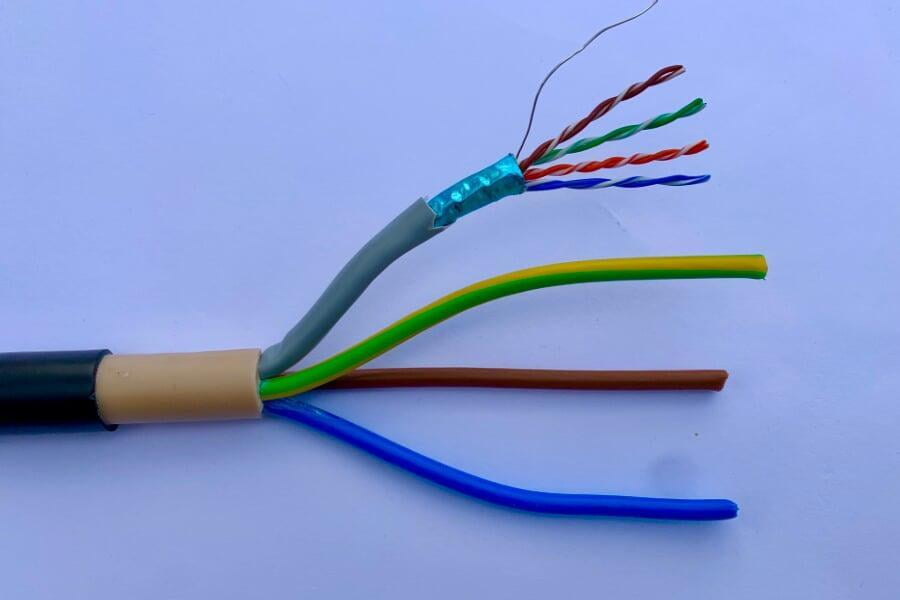
7 things we learned about cable
GET THE NEWSLETTER
Subscribe to eFIXX to get know how, product reviews and great business tips.